Configure trusted certificates
The X.509 certificate issued for this domain cannot be trusted. Therefore, clients such as browsers will show warnings or not be able to connect if they cannot trust the certificate. Read here how you can configure trusted certificates.
Security assessment
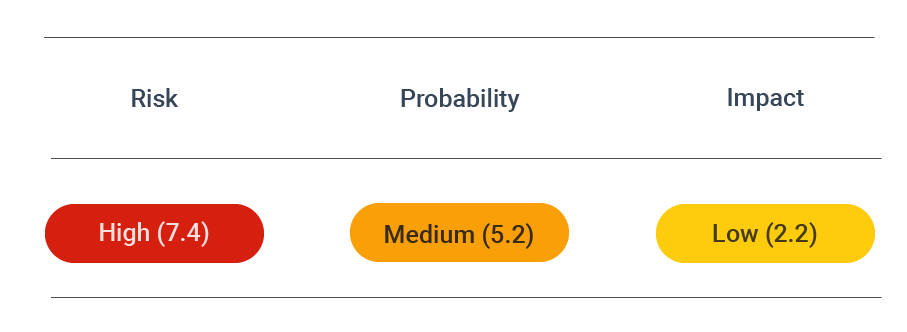
CVSS vector: AV:N/AC:H/PR:N/UI:N/S:U/C:H/I:H/A:N
Vulnerability information
The X.509 certificate issued for this domain cannot be trusted. Clients such as browsers will show warnings or not be able to connect if they cannot trust the certificate. Trust issues arise if the common name in the certificate does not match the webserver domain, if the server does not provide an intermediate certificate or if the certificate is self-signed.
Prevent attacks
To issue a trusted certificate for your web application, the certificate needs to contain the correct information for your web application, such as the domain name as the certificate common name. The certificate must be signed by a certificate authority (CA) that the users' browser trusts. Finally, the webserver has to be configured to present the certificate on incoming HTTPS requests. Use one of the following guides to generate and use a trusted certificate.
Let's Encrypt
With Let's Encrypt, generating secure and trusted certificates is effortless. Install the certbot on the server which runs the web server and run the following command:
certbot run -d [DOMAIN] --staple-ocsp --hsts
OpenSSL
You can manually create a new, secure certificate and a certificate signing request (CSR). For example, to generate the certificate with a private key and the CSR run:
openssl req -nodes -new -newkey rsa:2048 -sha256 -out csr.pem
Answer all questions according to your needs. Then send the csr.pem file to your CA. They will use this request to sign your certificate and provide you with the signed certificate. If the signed certificate is returned to you as new.crt, you can combine the key and the signed certificate as follows:
cp privkey.pem /etc/ssl/privkey.key
cp privkey.pem /etc/ssl/new.pem
cat new.crt >> /etc/ssl/new.pem
The resulting new.pem file can be copied to your webserver directory to be used in the web application. Suppose your certificate is signed by an intermediate certificate (which is not stored in your users' certificate storage) instead of a root certificate (which is stored in your users' certificate storage). In that case, you will need to bundle the intermediate certificate with your server certificate.
Apache
On Apache you need insert the certificate into the virtual host configuration in/etc/apache2/sites-enabled/domain.confor/etc/httpd/sites-enabled/domain.conf:
<IfModule mod_ssl.c>
    SSLStaplingCache shmcb:/tmp/stapling_cache(128000)
    <VirtualHost *:443>

            ServerAdmin webmaster@localhost
            ServerName example.com
            DocumentRoot /var/www

            SSLEngine on

            SSLCertificateFile /etc/ssl/new.pem
            SSLCertificateKeyFile /etc/ssl/privkey.key
    </VirtualHost>
</IfModule>
Nginx
For Nginx, update the configuration file which is usually located at /etc/nginx/nginx.conf, /etc/nginx/sited-enabled/yoursite.com (Ubuntu/Debian) or /etc/nginx/conf.d/nginx.conf (RHEL/CentOS). Add the following directive to the server section:
server {

        listen 443;
        server_name example.org;

        root /usr/share/nginx/www;
        index index.html index.htm;

        ssl on;
        ssl_certificate /etc/ssl/new;
        ssl_certificate_key /etc/ssl/privkey.key;
}