VRM Single Sign-On
Veracode has developed an integration with Okta SSO to allow you to externally manage user accounts for a tenant through Okta. This guide describes the steps required to enable SSO for your Veracode Risk Manager (VRM) user accounts.
Before You Begin
Before setting up SSO for VRM, you must have an Okta admin account.
Create an OpenID Connect Application
To enable SSO for VRM, you must create an OpenID Connect application in Okta.
Prerequisites:
Have an Okta administrator account.
To complete this task:
-
Log in to Okta.
-
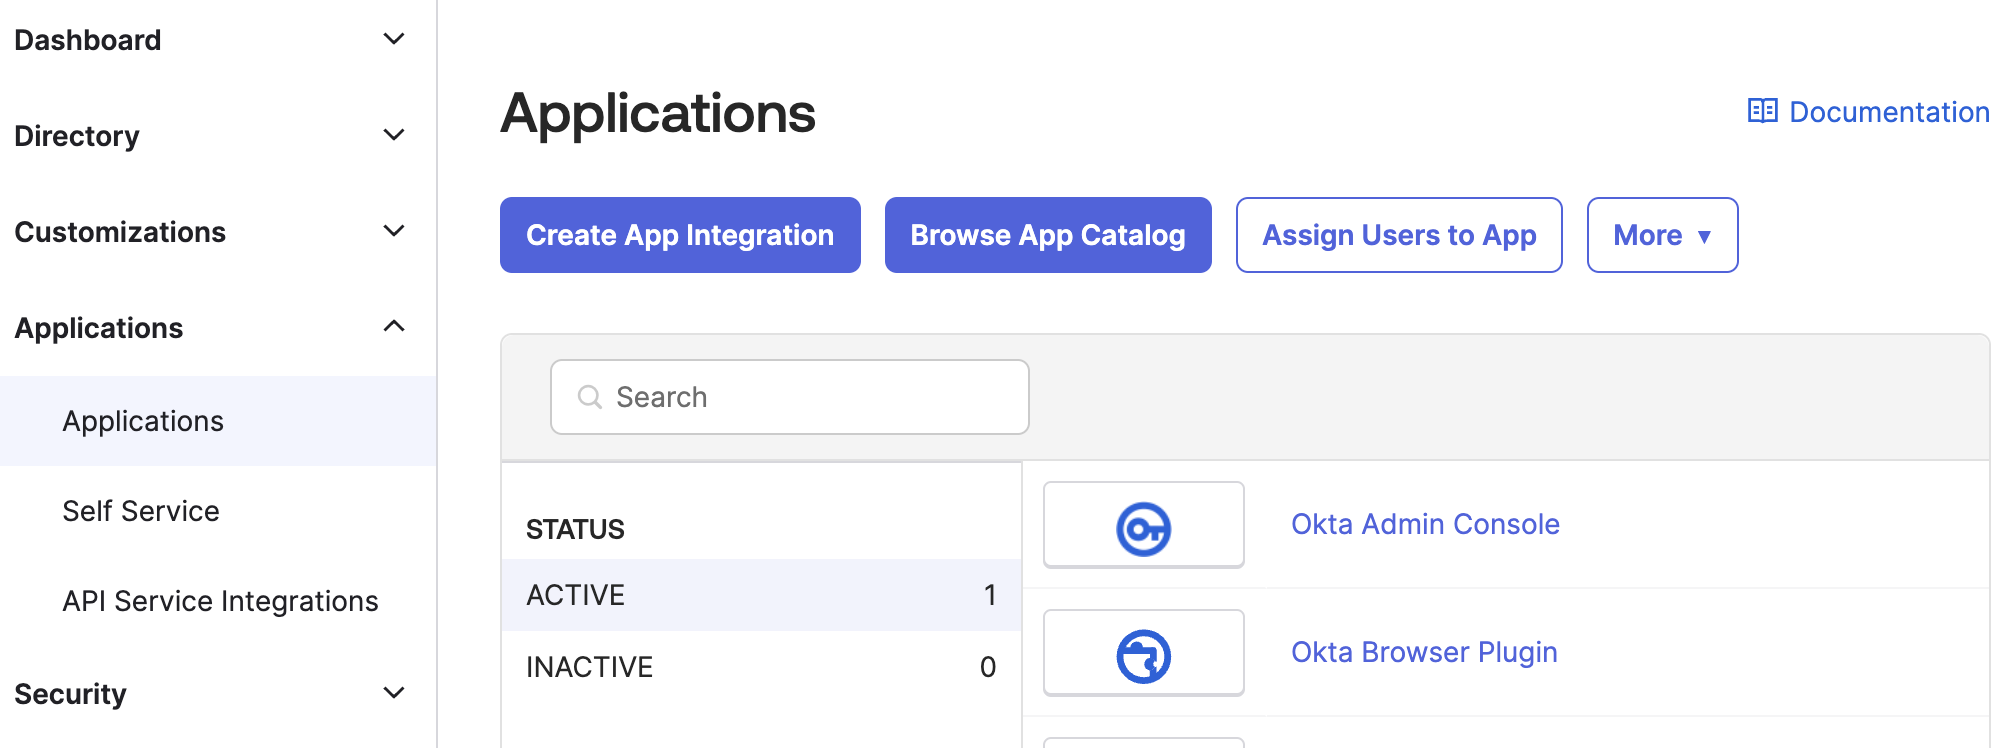
On the Admin page, select Applications > Applications from the left navigation menu.
-
Select Create App Integration.
-
For Sign-in method, select OIDC - OpenID Connect.
-
For Application type, select Web Application.
-
Select Next.
-
For Sign-in redirect URLs, enter the URL for your region:
- United States –
https://talonx.us.auth0.com/login/callback - Europe -
https://longbow.eu.auth0.com/login/callback
- United States –
-
For Controlled Access, select Skip group assignment for now.
-
Select Save.
-
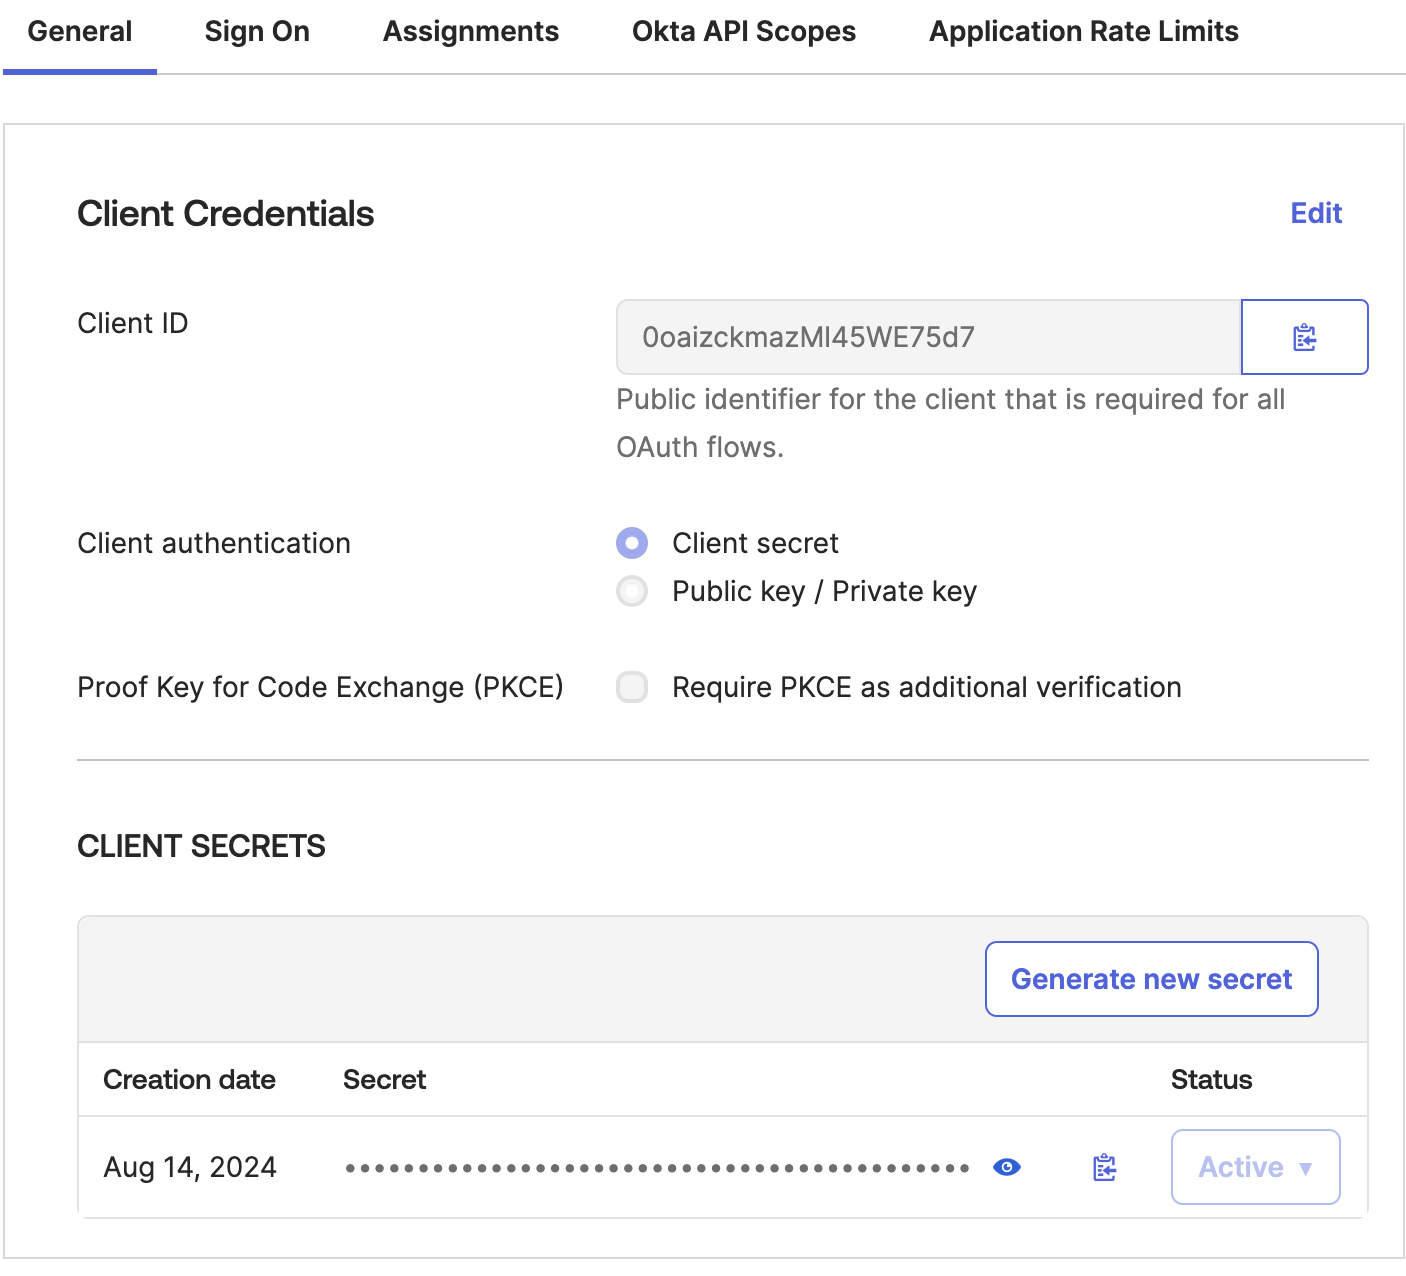
On the General tab of the newly created application, copy the Client ID and Client Secret to a secure location.
-
On the Assignments tab of the newly created application, select Assign and select the users or groups that will use Okta SSO to access VRM.
Enable SSO in VRM
After you enable SSO for your organization, all new users will need to log in through SSO.
NOTE: If you want to require existing users to log in through SSO, contact your Veracode customer success manager.
Prerequisites:
- Have an Okta administrator account.
- Have an Admin account for your tenant in VRM.
- Know the domain for your Okta instance.
- Have the Client ID and Client Secret you copied in the previous section.
To complete this task:
-
In VRM, from the left navigation menu, select the Settings icon
 , and then select Product Settings.
 -
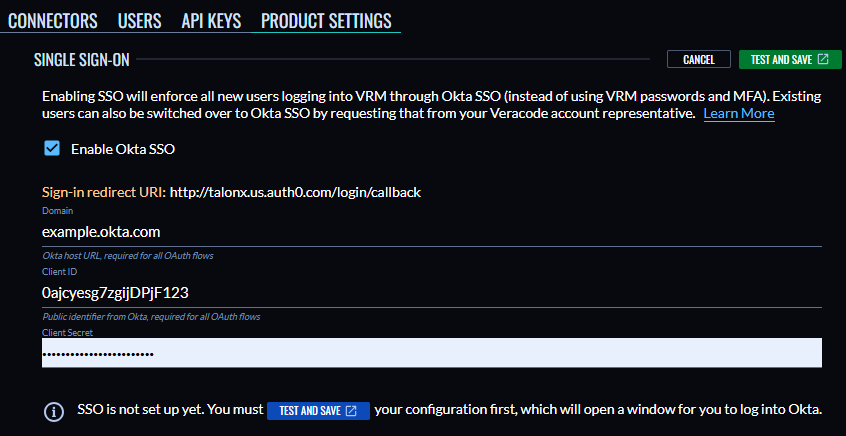
Select Enable Okta SSO.
-
Enter your Okta domain.
-
Enter the Client ID and Client Secret you copied in the previous section.
-
Select Test And Save. An Okta page opens.
-
Complete the Okta authentication steps to test the workflow for an Okta user account that has access to the application you created in the previous section.
When the test completes, all new users will need to log in using Okta SSO.
Add VRM Tile in Okta
You can create an Okta tile for VRM to allow users to access VRM from their Okta dashboard.
Prerequisites:
- Have an Okta administrator account.
- Have SSO enabled for VRM.
- Know the first-time login URI for your Okta instance. To find this URI, in the VRM platform, select the Settings icon , and then select Product Settings.
NOTE: If Veracode created your SSO tenant, contact your Veracode customer success manager to retrieve the URI.
To complete this task:
- Log in to Okta.
- On the Admin page, select Applications > Applications from the left navigation menu.
- Select the application you created for VRM.
- In the General Settings section, select Edit.
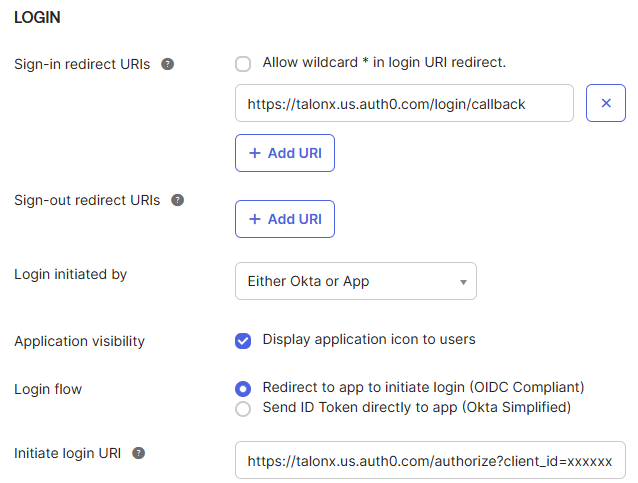
- In the Login Section, make the following updates:
-
Login initiated by: Select Either Okta or App.
-
Application visibility: Select Display application icon to users.
-
Login flow: Select Redirect to app to initiate login.
-
Initiate login URI: Paste the first-time login URI that you retrieved earlier.
-
- Select Save. A tile for your application now appears in your Okta application list.
Logging In
After Veracode enables SSO for your account, you can select Login with SSO on the VRM platform.
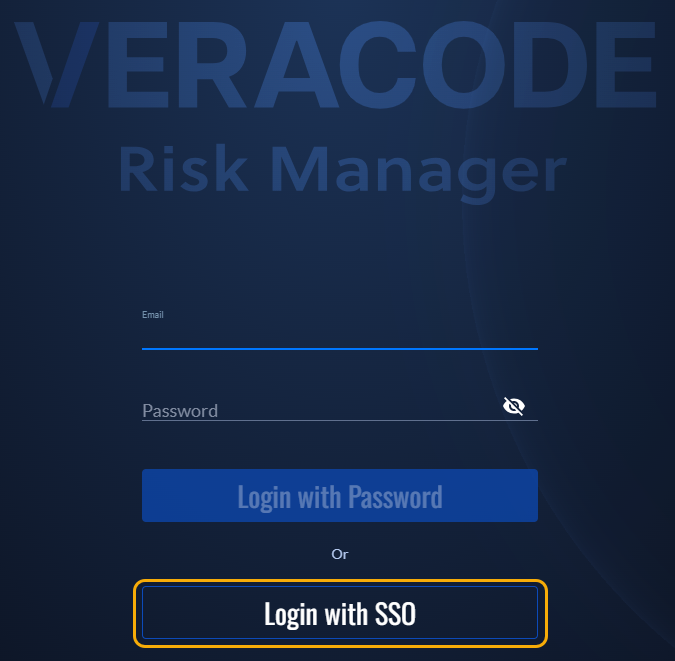
After you enter your email address, Veracode directs you to the Okta authentication page.