Set up the Checkmarx connector
Integrate Checkmarx SAST and SCA vulnerability and weakness findings with Veracode Risk Manager (VRM) to unify organizational risk and support Best Next Actions.
Complete the following tasks to set up your VRM connector for Checkmarx.
Get your tenant ID, client ID, and secret
VRM connects to all Checkmarx vulnerability scanners using the Checkmarx aggregation APIs. To complete this integration, you need your tenant ID, along with the ID and secret for an OAuth client.
Prerequisites:
You must have created an OAuth client in Checkmarx One.
To complete this task:
-
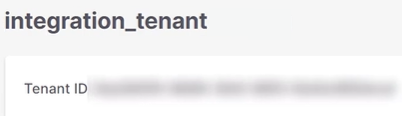
In Checkmarx One, select Settings > Identity and Access Management.
-
Copy the tenant ID to a secure location.
-
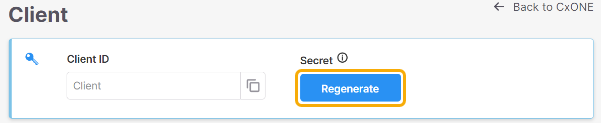
Select OAuth Clients.
-
Select the client you want to use with VRM.
-
Copy the client ID to a secure location.
-
Select Regenerate.
-
Copy the secret to a secure location.
Create a VRM connector
- In VRM, from the left navigation menu, select the Settings icon
 .
. - Select Add Connector.
- Select the Checkmarx tile.
- Enter a name for the connector.
- Paste the Client ID and Secret values you generated in Checkmarx.
- For Endpoint, enter the Checkmarx One base URL for your environment. For example:
https://ast.checkmarx.net - For Tenant Name, enter the Tenant ID value you copied from Checkmarx.
- Select Add Connector.
Validate your data
After successfully connecting the Checkmarx connector within VRM, it will take some time for VRM to fetch the findings.
After the connector has completed the fetch, confirm that VRM correctly ingested the data.
- In VRM, select Findings
 from the left navigation menu.
 - Select the Findings Source filter and select Checkmarx.
The Findings table lists the Checkmarx vulnerability findings.